Slides
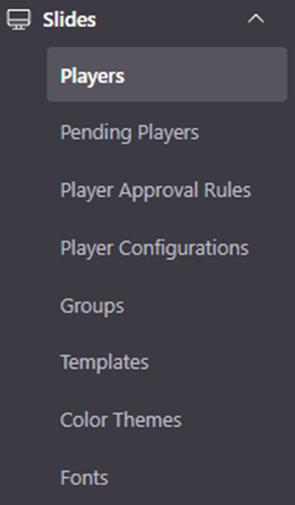
The ‘slides’ settings will offer 8 options. Players, Pending Players, Player Approval Rules, Player Configurations, Groups, Templates, Color Themes, Fonts.
Players
The first option, Players, will show all approved and blocked players that are or have connected to the system.
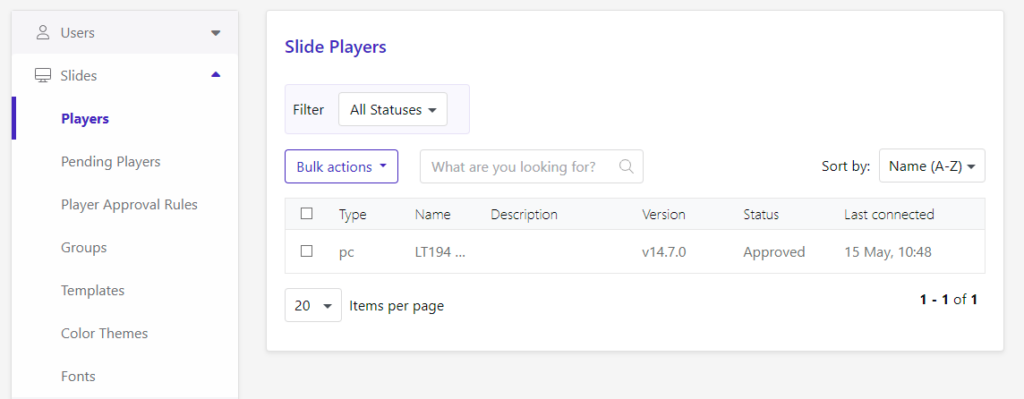
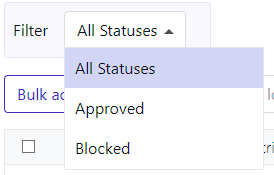
In this overview, you will be able to Filter on either the Approves or Blocked status.
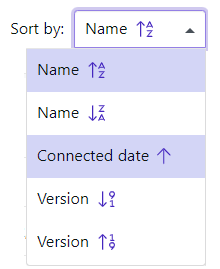
Below that, you can Block, Delete or approve players in bulk. Next to that, you can search for a specific player and sort the list by either Name, Last Connected state, or version number.

The list itself will show the Type of player (PC or TV), the Hostname, the Description that would have been added to it, the Version number, its status, and its last connected state.

Hovering over an entry will reveal 3 actions you can take. Block if the player is approved previously, delete or edit. If the player is blocked, the first action will be to approve it.


Clicking the edit button will reveal all the information that has been gathered on that device.
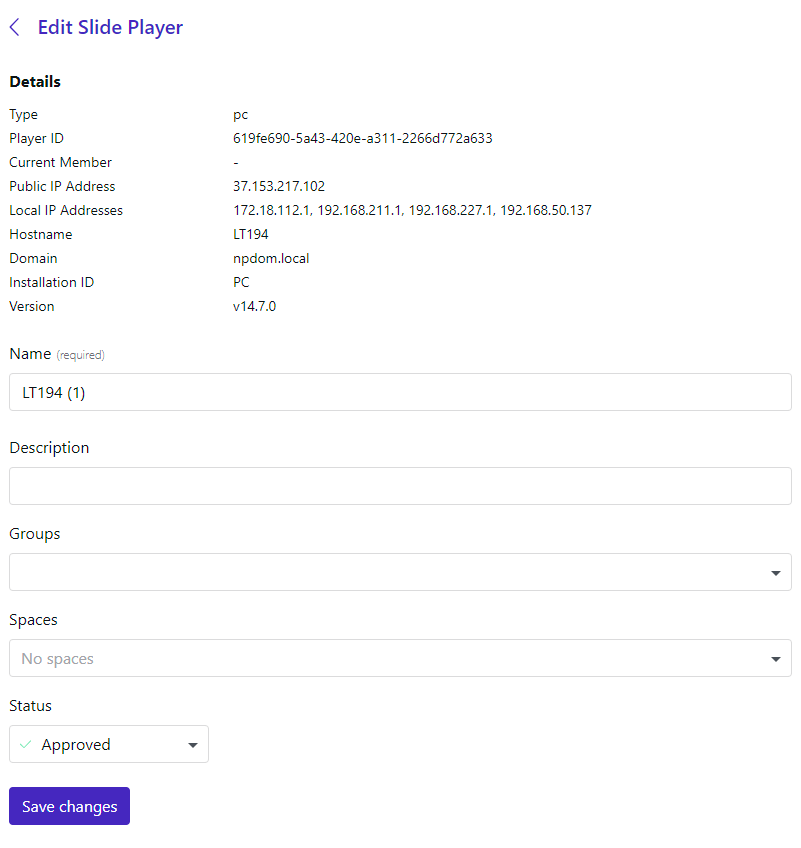
Extra details are shown that were not available in the overview such as Player ID, Member name and Public/ Local IP Addresses.
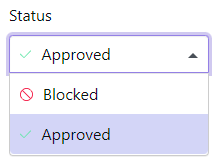
In this view, the name can be changed, a description added/altered, the player can be added to groups and spaces. The status can also be changed in this view with the drop-down menu at the bottom.
Pending players
The ‘pending players’ page is like the ‘players’ settings page. The difference between these two views is that in this one, you will need to accept connecting players into your tenant, as their first state will be neither blocked nor approved.
Player Approval Rules
This view will show rules that have been made for pending players to be approved automatically if they align with specific conditions.

Bly clicking ‘Add New’ in the top right, you will arrive in the next window where you can create a new rule.
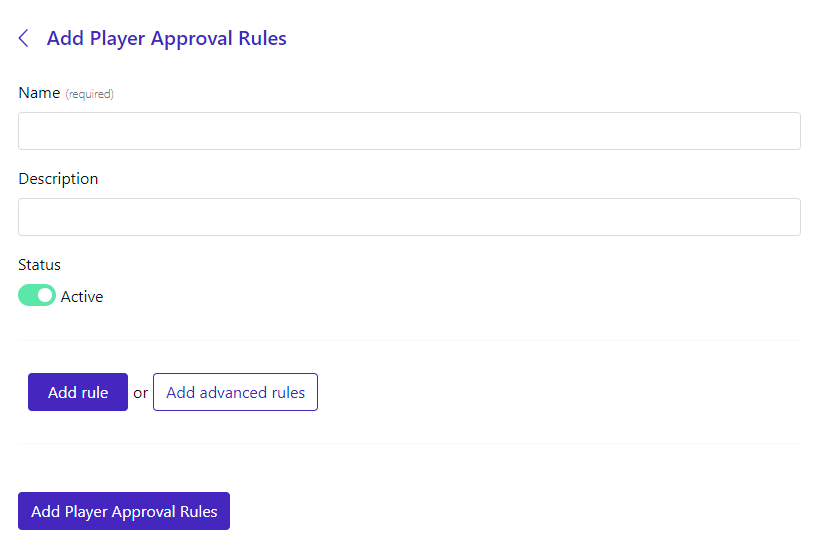
The first requirement will be a name. A description is optional.
The status can already be set to inactive if you wish to activate it at a later stage, but the initial status of a new rule is active.
There are two ways to add a rule. By clicking on the button ‘Add rule’ or by clicking ‘Add advanced rules’.
The difference between the two options is that the Advanced rules will require two conditions to be met at the same time.

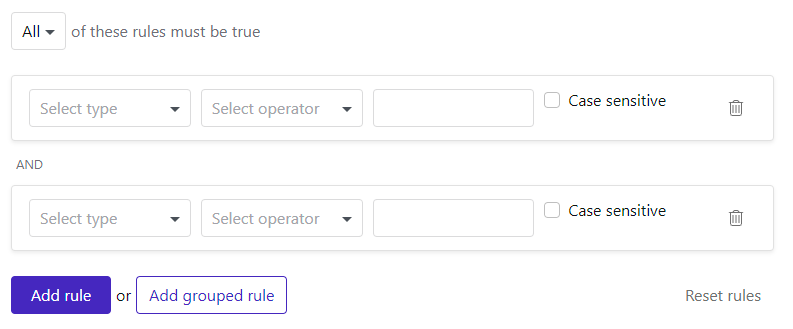
In the advanced rules, you can keep on adding extra conditions to be met and even add a subsequent grouped rule.
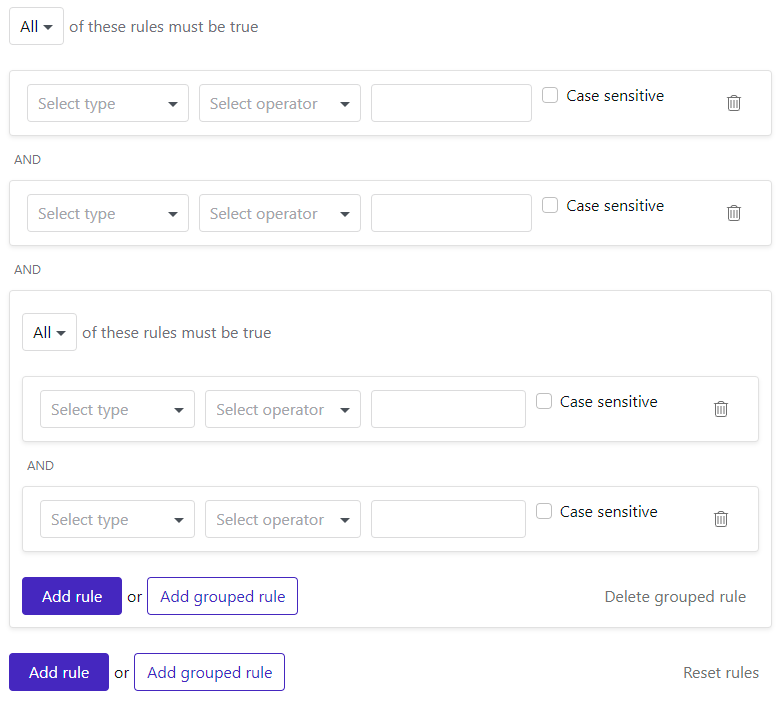
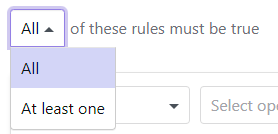
This can go on for many levels. But if you do not need all the rules to meet the requirements, you can change it so that at least one will suffice.
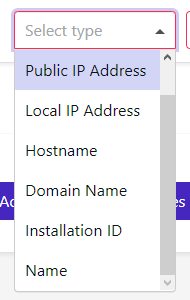
A rule is made of 3 parts. A type, an operator, and the value of the operator.
The type can be an IP Address, Hostname, Domain name, Installation ID, or name.
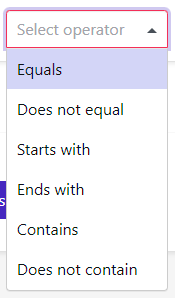
The operator is what you would like the type to be compared to. Does it need to equal, not equal, start or end with, or does it need to contain or not contain the value behind the operator?

In the final field, you will need to fill in the conditions that need to be met. If you had selected ‘Domain name’ as the type and ‘Equals’ as the operator, you could fill in your domain name as its value.

The option to enforce case sensitivity can be activated if desired.
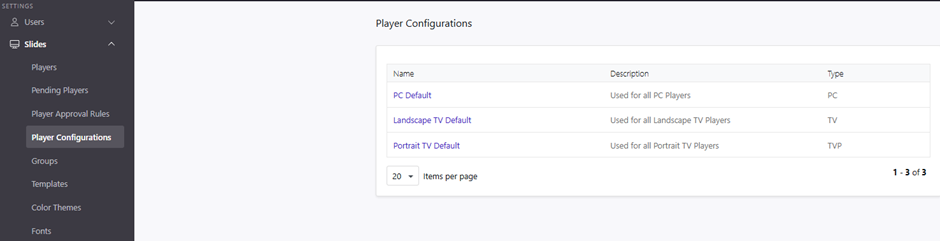
Player Configurations
Within this view you can set default settings for your Players.
They are already divided in 3 main groups:
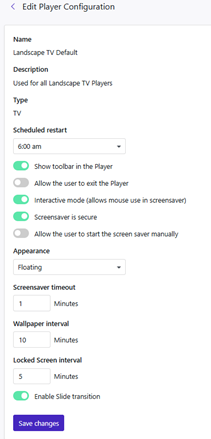
Please note that the Screensaver timeout / Wallpaper interval / Locked Screen interval, are in minutes. Meaning when the set interval is reached, it will progress onto the next “slide”.
Player Configuration Options
Scheduled restart automatically refreshes the Player’s memory at a set time to keep performance stable.
Show toolbar in the Player displays Previous, Next, and Pause buttons in the Slide Player.
Allow the user to exit the Player allows users to close the Slide Player. When this setting is turned off, the Slide Player always runs in the background and cannot be closed manually.
Interactive mode (mouse use in screensaver) allows users to click interactive elements in slides while the screensaver is active. Moving the mouse does not stop the screensaver. A button must be pressed to close it.
Screensaver is secure when enabled, users must log in with their Windows credentials after the screensaver ends.
Allow the user to start the screensaver manually gives users the option to activate the screensaver themselves.
Appearance (not in Screensaver mode) controls how the Slide Player looks and behaves on screen. When set to Fixed, the Slide Player cannot be moved or resized. When Floating, the Slide Player can be moved and resized by the user. When Fullscreen, the Slide Player always runs in fullscreen mode.
Timing & Intervals
Screensaver timeout sets how many minutes of inactivity are required before the screensaver starts.
Wallpaper interval defines how often the wallpaper image changes, in minutes.
Locked Screen interval defines how often the lock screen image changes, in minutes.
Visual Effects
Enable slide transition shows a fade transition between slides.
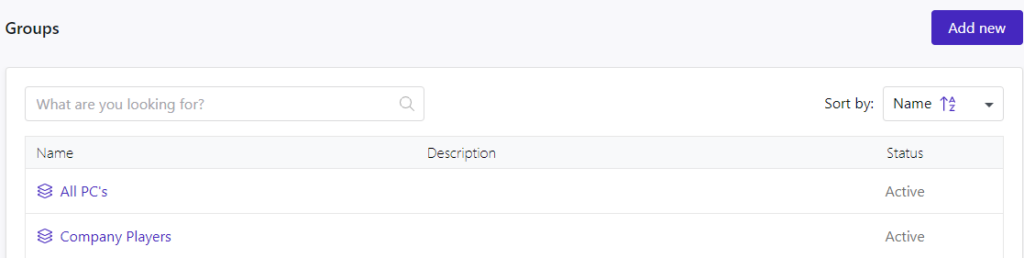
Groups
Within this view you can search for, sort, and create groups of players.
By clicking the ‘Add new’ button, you will arrive in a new view where you can start creating your new group.

A name is required for the new group. A description is optional.
You will need to add this group to a Space so it will be available as an audience when slides are created.
The groups can also be set to inactive prior to adding it to the list in case it needs to be activated at a later stage.
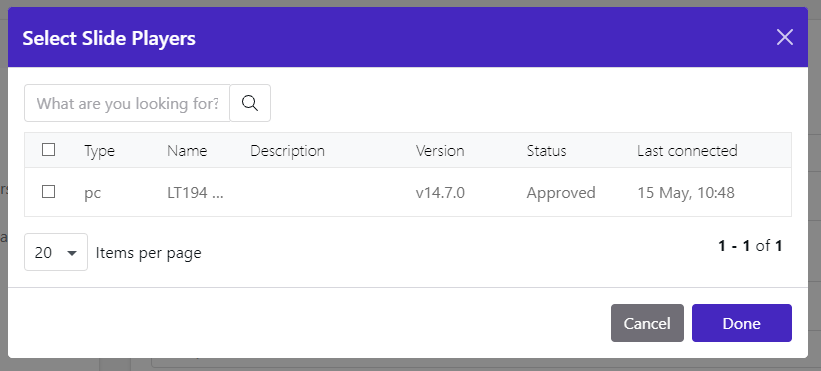
The recipients of the group can be added via the player list.
Or players can be added to a group via rules.

A rule is made of 3 parts. A type, an operator, and the value of the operator.
The type can be an IP Address, Hostname, Domain name, Installation ID, or name.

The operator is what you would like the type to be compared to. Does it need to equal, not equal, start or end with, or does it need to contain or not contain the value behind the operator?
In the final field, you will need to fill in the conditions that need to be met. If you had selected ‘Domain name’ as the type and ‘Equals’ as the operator, you could fill in your domain name as its value.

The option to enforce case sensitivity can be activated if desired.
Templates
Within this view, you can see all the templates that have been made available for your tenant.
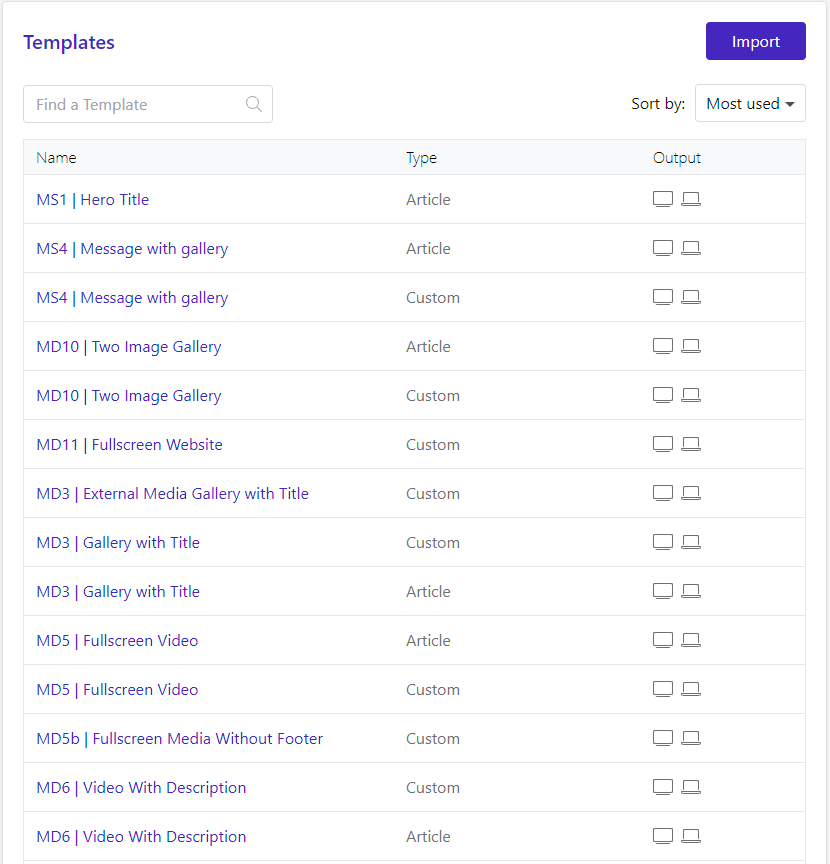
You can search for a specific template, sort the list by most used or by name and you can tell if the template is designed for slides derived from articles or standalone slides.
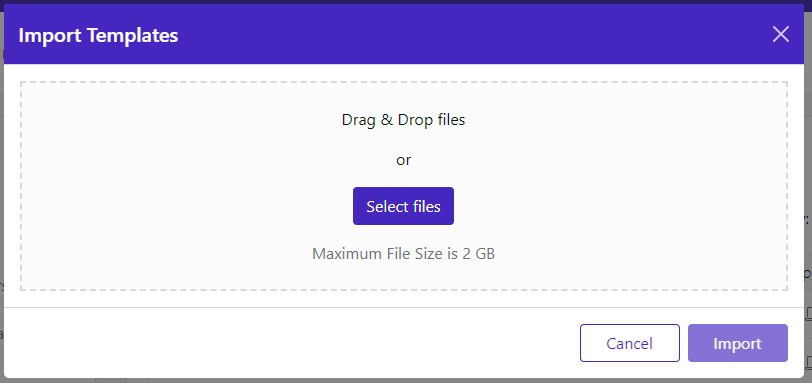
By clicking the Import button, a pop-up window will be shown where you will need to upload a template.zip file. This file is provided by Netpresenter and can be selected from your computer with the ‘Select files’ button or you can drag & drop the file into the pop-up window.
Color themes
Within this view, you can see all the color themes that have been imported to your tenant.
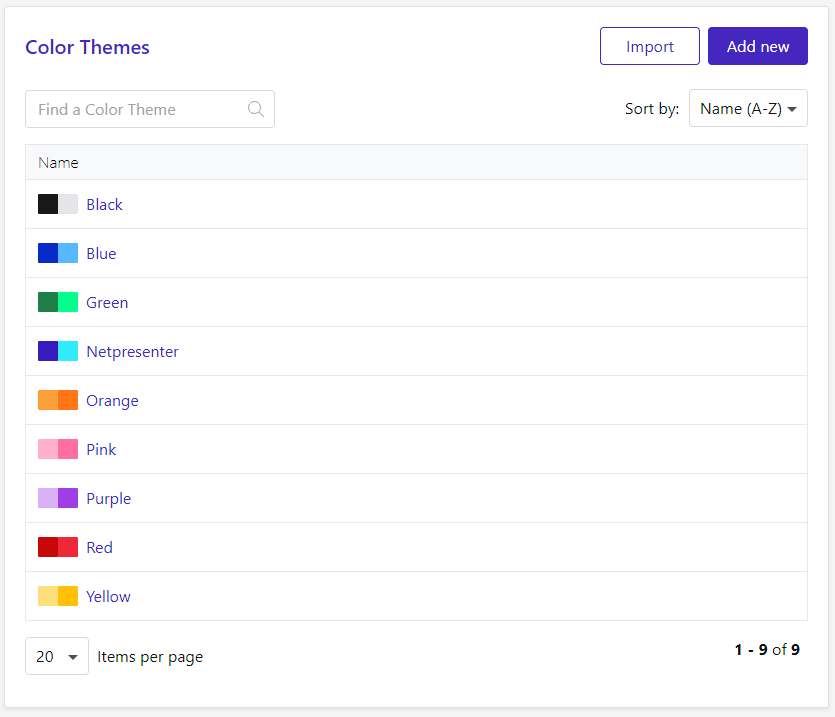
You can search for a specific color theme, sort the list by most used or by name.
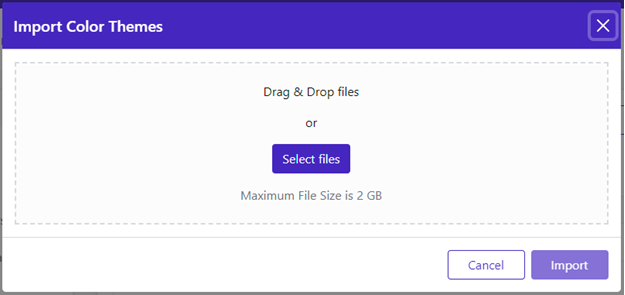
By clicking the Import button, a pop-up window will be shown where you will need to upload a colortheme.zip file. This file is provided by Netpresenter and can be selected from your computer with the ‘Select files’ button or you can drag & drop the file into the pop-up window.
By clicking the Add new button, you will arrive at a new view where colors can be selected for specific elements.
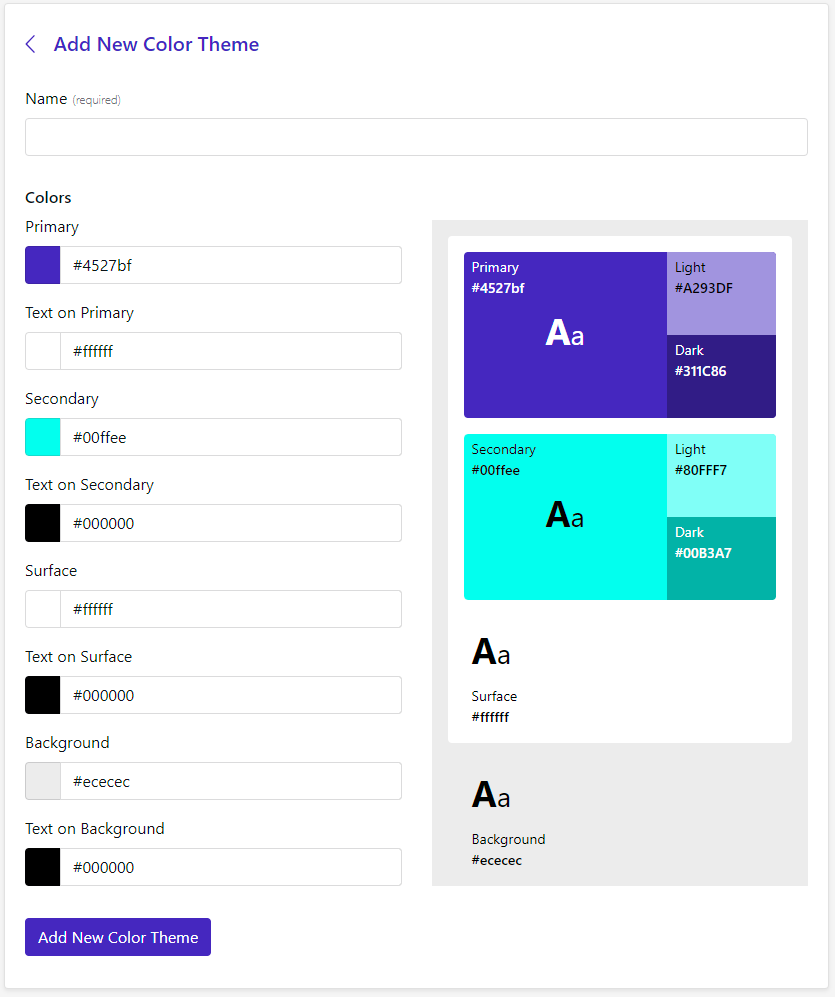
A name is required for the new color theme. Hex color codes can be used to fill in the Primary, Secondary, Surface and Background colors. Color codes can also be used for each text color on top of the other elements.
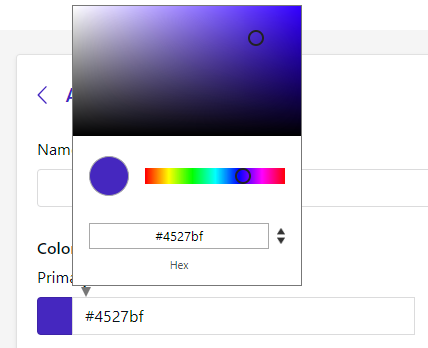
If there is no hex color code, the color can be selected from a color picker.
Fonts
If you wish to use a custom font within your tenant, a font set will be necessary. These can be created by Netpresenter, or you can create them yourself.

By clicking the Import font set button, a pop-up window will be shown where you will need to upload a fontset.zip file. This file is provided by Netpresenter and can be selected from your computer with the ‘Select files’ button or you can drag & drop the file into the pop-up window.
By clicking the ‘download an example’ hyperlink, you will download an example that can be used to create your own font set.